Hankin Upright Arcade
Updated 4/7/20
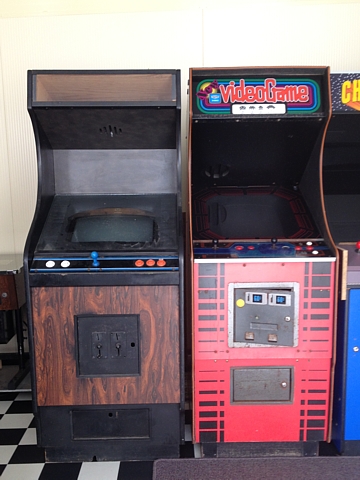
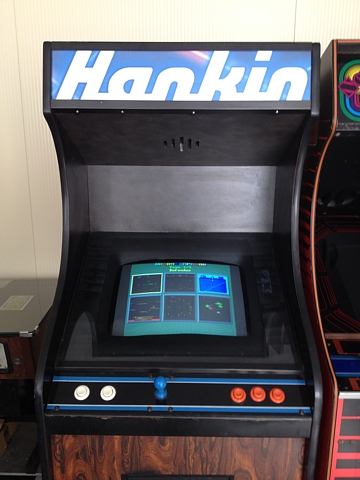
Here's another Australian Made Arcade Machine from the 1980s, I believe this one was made by Hankin, who also produced a cocktail machine which was widely used here. It obviously made financial sense to manufacture the cabinets locally, only importing game boards and other components as needed.
These 'woodgrain' units (this one is laminate over plywood) were usually found in smaller venues - Milk Bars, Take-aways, Fish 'n Chip shops, maybe Cinema foyers etc. I have also seen pictures of later style (probably '90s) Hankin uprights which were finished in black and much more angular in design, somewhat similar in shape to Atari's original Missile Command upright.
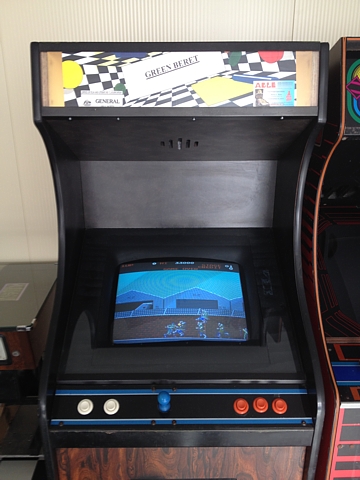
This one was 'working' as purchased, with a CRT monitor and the game is 'Green Beret' from 1985, another 'cold war' themed game, by Konami. Unlike Missile Command however the player is very much on the offensive here, infiltrating an enemy stronghold to single handedly 'rescue the captives'. Just in case there was any uncertainty, the American version was renamed 'Rush 'n Attack'.
At first glance, the unit looks pretty good. The cabinet is in good condition, the monitor working and the game playing, controls working. There were lots of minor issues though which quickly became clear. The monitor is not the original type, it does have a remote adjustment panel which is fine but the tube is only 46cm where the original was probably 51cm. It's not quite as curved as the original either and the most obvious issue is that it sits too low in the machine, leaving a large gap between the bezel which was shaped to fit the original CRT and the face of the new screen.
The fix for that is pretty straightforward, rather than looking for a new bezel I made up 4 metal spacers, 30mm high to go between the original mounting plate and the brackets on the CRT (using longer screws) to raise the CRT up until the gap disappeared. The tube now fits quite well, the entire phosphor area just fits inside the bezel, some of the black mask around the edge of the CRT is visible but that's not really a problem.
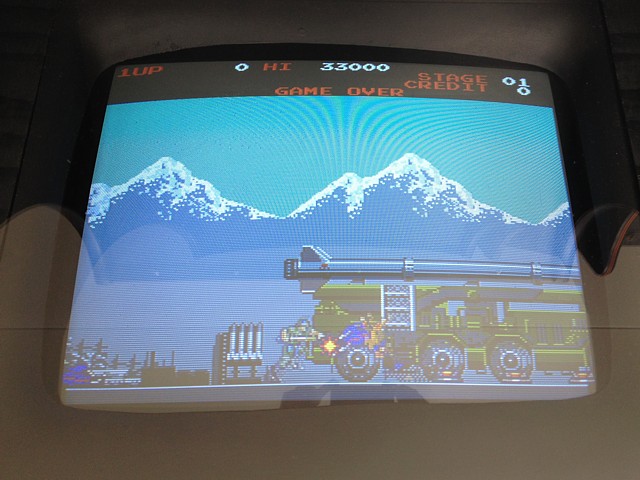
Looking at the image, something else appeared wrong. Not being really familiar with the game it wasn't instantly obvious but the colours looked odd. Comparing to screenshots and MAME emulation it became clear - objects which should be red such as the walls and metal structures were green. The initial text which says 'Green Beret' was blue and presumably details which were blue showed up red.
What about the sky, that's blue isn't it? In the game the Rush'n sky is sort of aqua - grey looking so it wasn't as obvious as you would think but all 3 colours were wired to the wrong inputs. Sure enough, the 'Hankin cabinet to Konami Classic' wiring adaptor (this one had 'Jungler' written on it - which should have a similar pinout to Green Beret) was wrong at the Konami end. Easily fixed but it must have been wrong for a very long time.
The next issue was the sound. I knew there was a problem with the sound from the beginning but presumed it was a faulty speaker. Have you ever heard a speaker where the voice coil has become detached from the cone? Well, it sounded like that, anyway. Indistinct, mostly distortion - I unplugged the speaker (there is a 2 pin connector in line) and connected a working one, to my surprise it was no different.
Now expecting a fault in the audio amplifier on the game PCB, I first double checked connections and power supply rails, finding another anomaly on the game connector. For some reason the purple wire which carries the +12V was not connected at the game board end, instead a second red wire with +5V was connected to the +12V input. I've no idea why; perhaps the adaptor was custom wired to suit some other game PCB... Another easy fix, thankfully and the sound is soooo much better!
Two remaining issues are the Marquee and the coin mechs. The Marquee lights up OK but the graphic was just a photocopy held together with sticky tape and had nothing to prevent it falling inside. For starters, I've cut a thin piece of slightly opaque acrylic to fit behind the clear sheet, sandwiching the existing graphic in place and diffusing the light a little better. It still needs a proper Marquee graphic found or printed to suit.
As an experiment, I'm going to try a printed paper graphic, not that different from the photocopy idea used previously - but did you know a basic A4 inkjet printer can do it in one piece? I'd never tried this before either but looking at the printer preferences I realised that my bog-standard Canon MG3260 printer can cope with a custom page size up to 215mm wide by 676mm long. Most Marquee graphics are within 210mm or so high (the Hankin Marquee is only 150mm) and not much more than 600mm long.
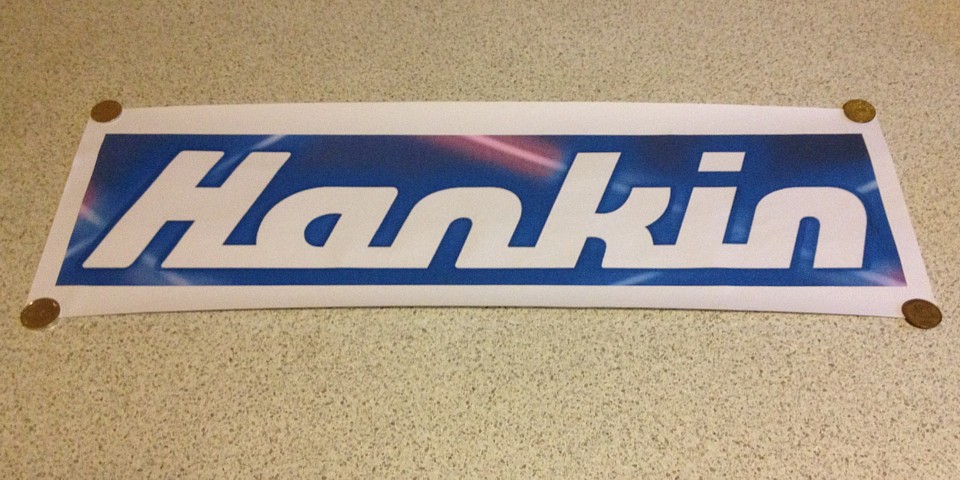
The trick is finding a suitable piece of paper, in this case I found a roll of gift wrapping paper, plain white, not glossy and 80gram (gsm or grams per square meter) which is the same thickness as copy paper - at a local post office. It's a 3metre roll by about 760mm wide so I cut a piece 210mm by 650mm allowing for a bit of a margin and set that as my custom paper size. Because it's a generic style cabinet and not really a dedicated Green Beret I'm starting with a more generic graphic, in this case just the brand of the machine.
The new marquee looks great for a first attempt, it could have done with a bit more margin top and bottom... I've also made up an adaptor to run a jamma PCB, as seen in this photo. It's useful to have an alternate game board which can be plugged in, for example to assist with troubleshooting if there are any problems with the original game.
As for the coin mechs, one is complete and works, the other is missing the moving plate from the side as well as the microswitch. Somewhere, somebody must have a box full of these bits as I now have three of these mechs which are all missing the same part! It can be removed, to clear a jammed coin but it is meant to be put back... The coin mech is useless without it and any coin placed in the slot is likely to miss the coin box, fall in amongst the game board, power supply and wiring and potentially wreak havoc.
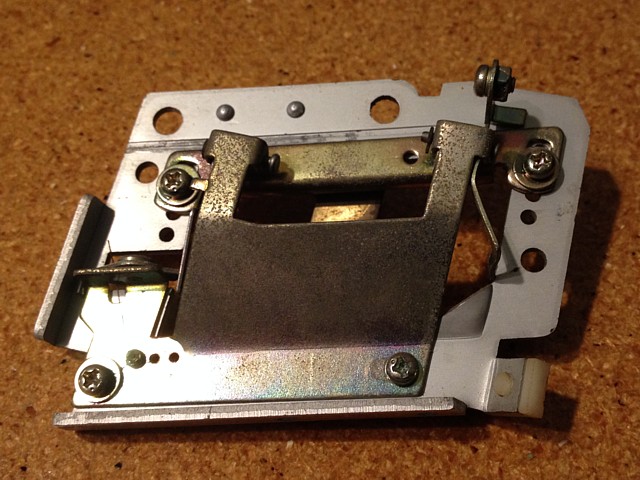
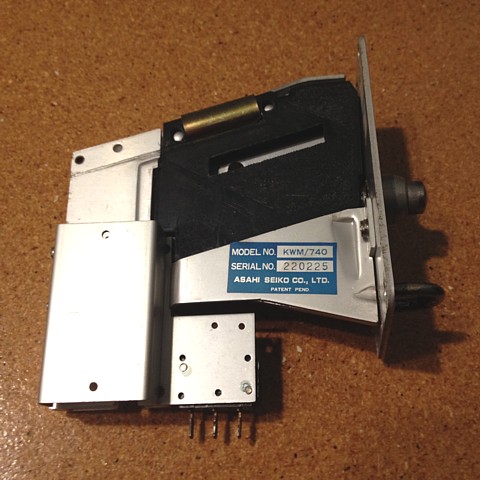
Here is the piece which is missing, it's really a sub-assembly. This one is borrowed from the mechanism which is complete. There are a number of moving parts, one which will catch a washer by its centre hole, one which will stop all coins if the machine is tilted, I think the next one is to stop an under-weight coin. In the following stage there is also one which prevents a coin from being drawn back with a string (called 'stringing', apparently).
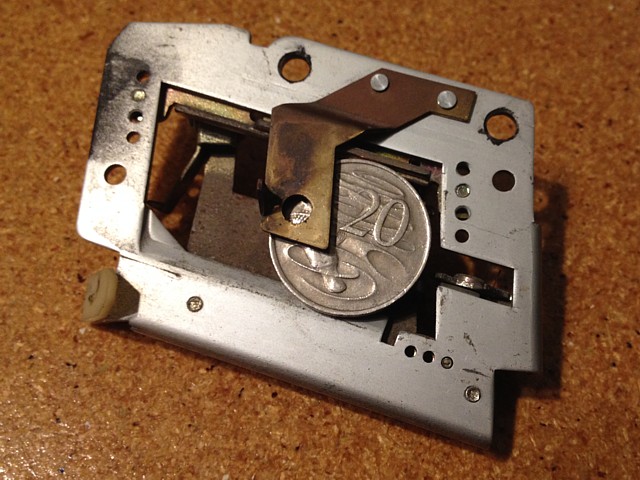
The major part on this assembly is an adjustable guide rail which stops any coin which is too large in diameter and allows any undersized coin to fall to the side, instead of being 'accepted'. Shown here with a 20c piece resting on its narrow ledge, the difference between a coin which is 'too large' and 'too small' is the width of the ledge, or just under 1mm. The Brass strip seen in front of the coin is to free any washers or 'slugs' which have been caught by a magnet, when the reject button is pushed.
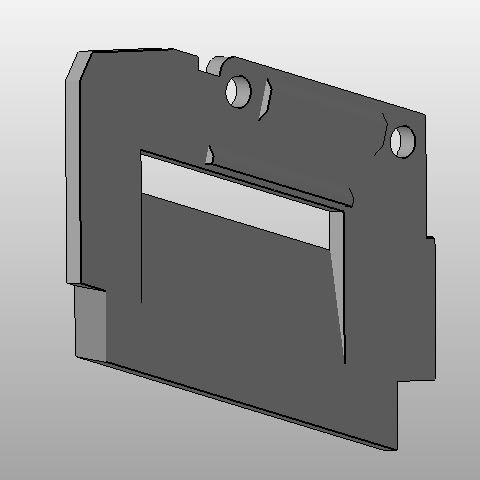
Although the whole assembly is a bit too intricate to reproduce with a 3D printer, I can manage a substitute which will incorporate the major functions. It doesn't have to be perfect anyway as the machine is no longer being used commercially. The drawing shows the new part from the inside, with a ledge which will stop an oversize coin and the bevelled surface where an undersize coin will fall. There is another bevel at the bottom left, to allow the reject button to work. The lump between the two holes is just a bit of a brace to stiffen the part where the spring clip presses it against the two bumps of the main assembly.
The outside of the 3D printed part is plain apart from a groove where the spring clip presses. The groove is tapered or bevelled to allow it to be printed without support as it is on the underside when printed.
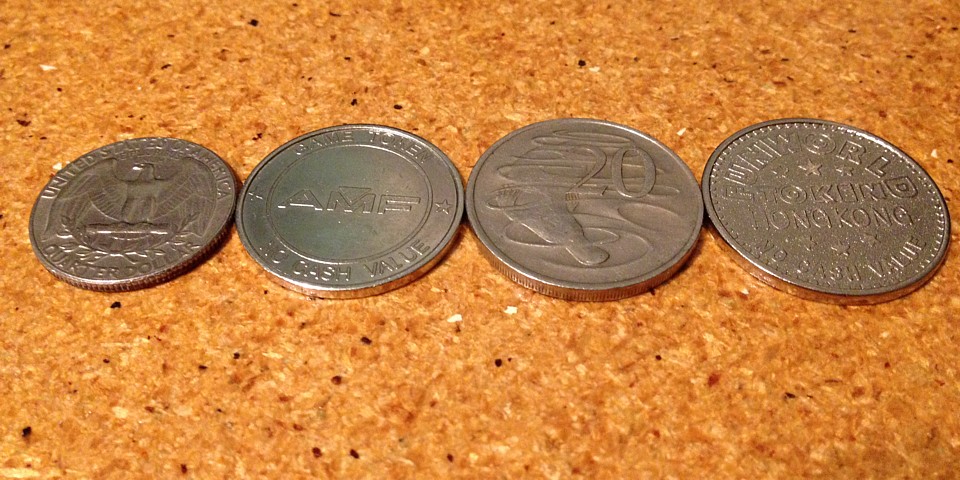
I've tested the assembled mech with these coins and tokens. The 20c coin, with an image of a Platypus on the 'tails' side, is accepted. The FunWorld token which is only 0.5mm larger than the 20c coin, is stopped by the ledge while the smaller AMF token falls against the bevel. Shown for comparison is a U.S. quarter - so many of these must have been dropped into slots during the 'Golden Age of Videogames'! This well worn example is dated 1974 and would have been in circulation at the time, who knows where it might have been...
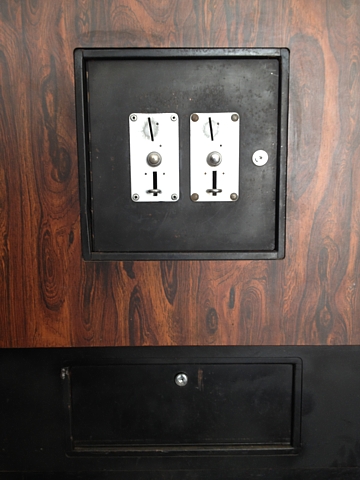
The whole coin door including the mechs had been sprayed over with black enamel at some point. I wouldn't use paint stripper on the aluminium face plates but some acrylic lacquer (automotive paint) thinner dabbed with much patience using numerous cotton buds dissolves the enamel and restores their original appearance.
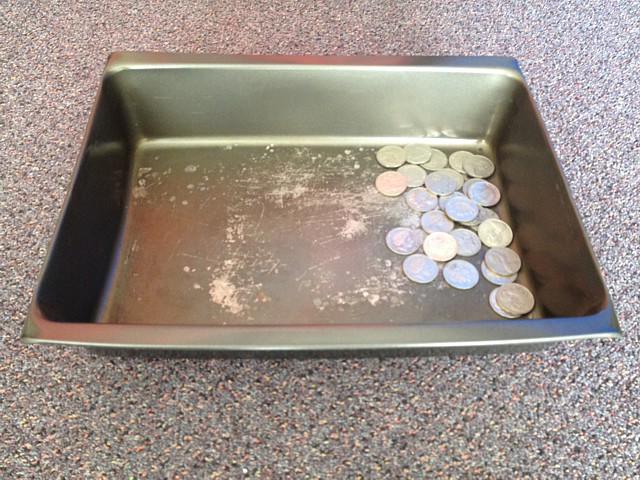
Another part which always seems to be misplaced over time is the original coin tray. Here I have repurposed a discarded baking tray, it fits reasonably well once the end flanges have been bent down and makes a satisfying 'clunk' when the coins hit it. I'd like to obtain the correct item if anyone has one or even see a good photo to know exactly what I'm looking for...
Web Resources (External Links) -
All images and text on this website are Copyright.
Contact: jbtech at telstra dot com